
Last updated November 2, 2026
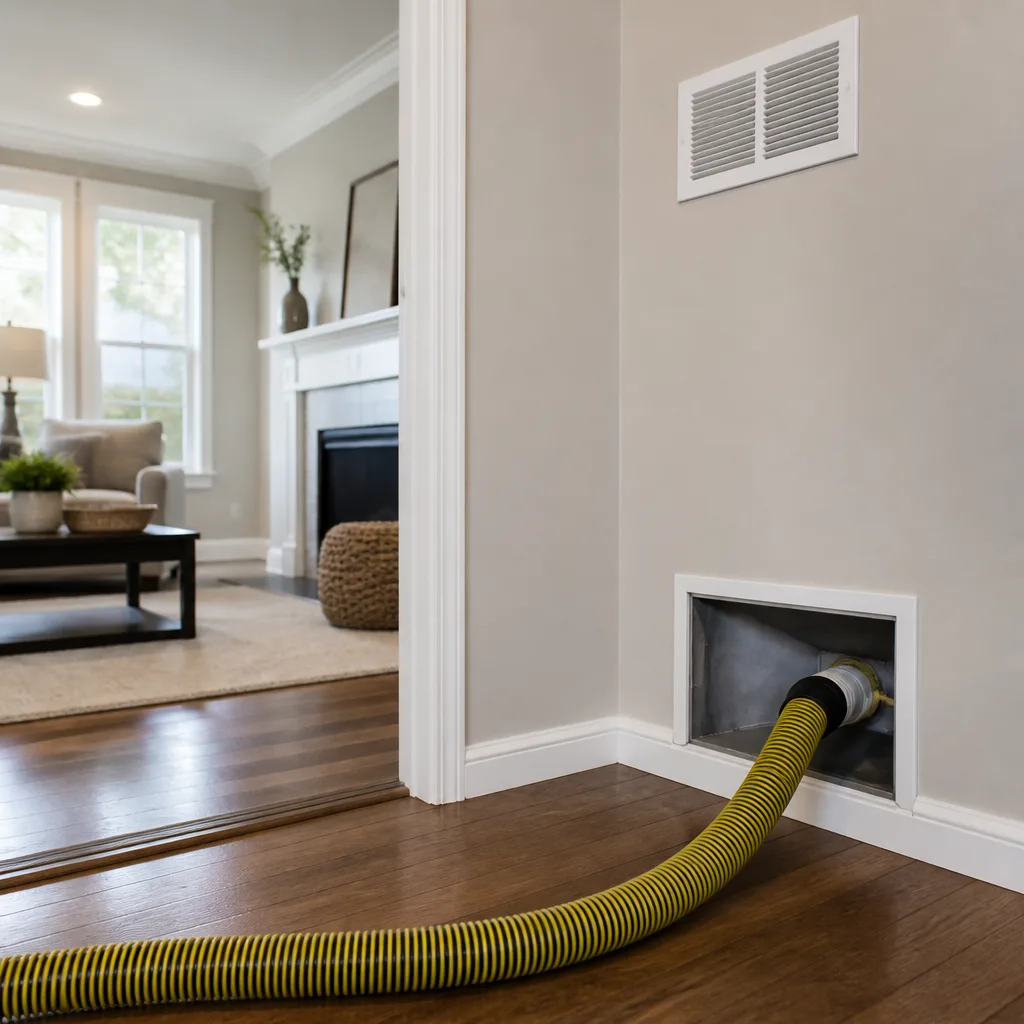 Whole-home duct cleaning
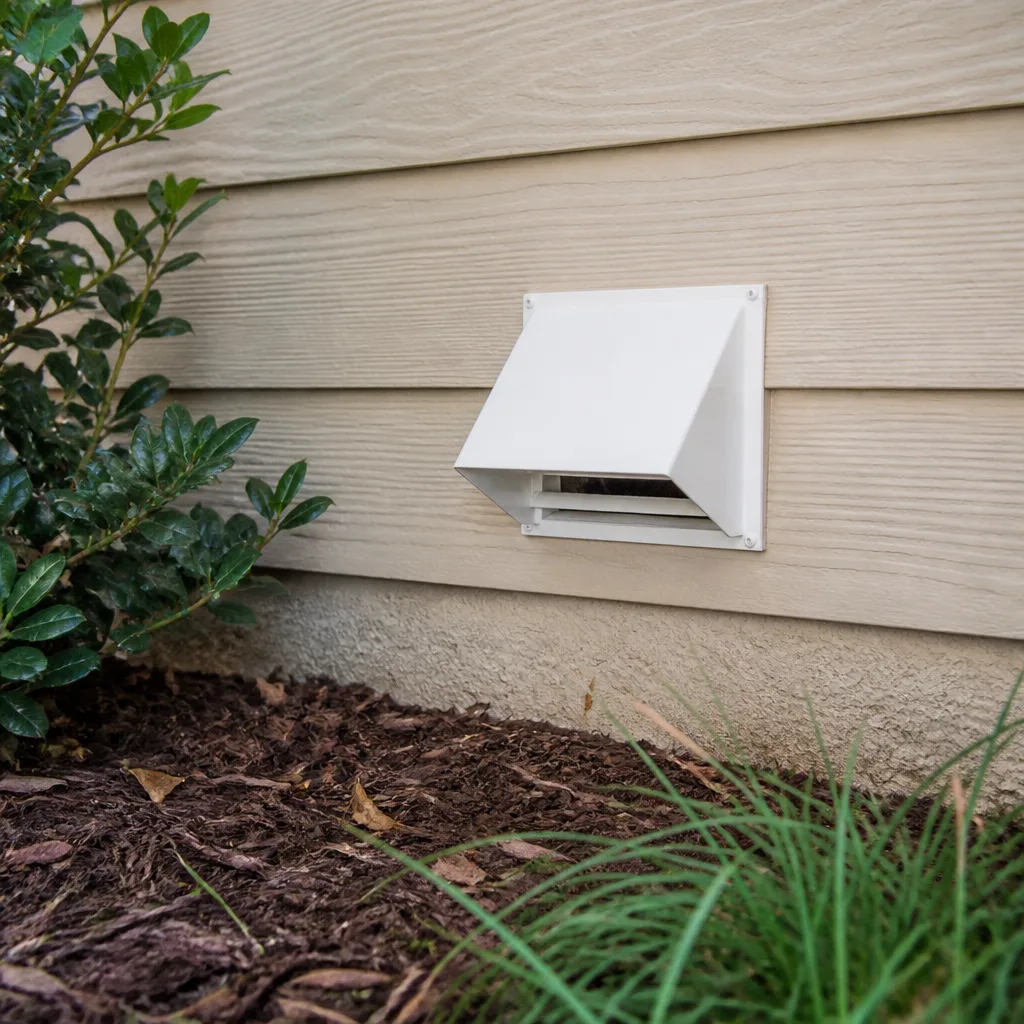 Dryer vent cleaning
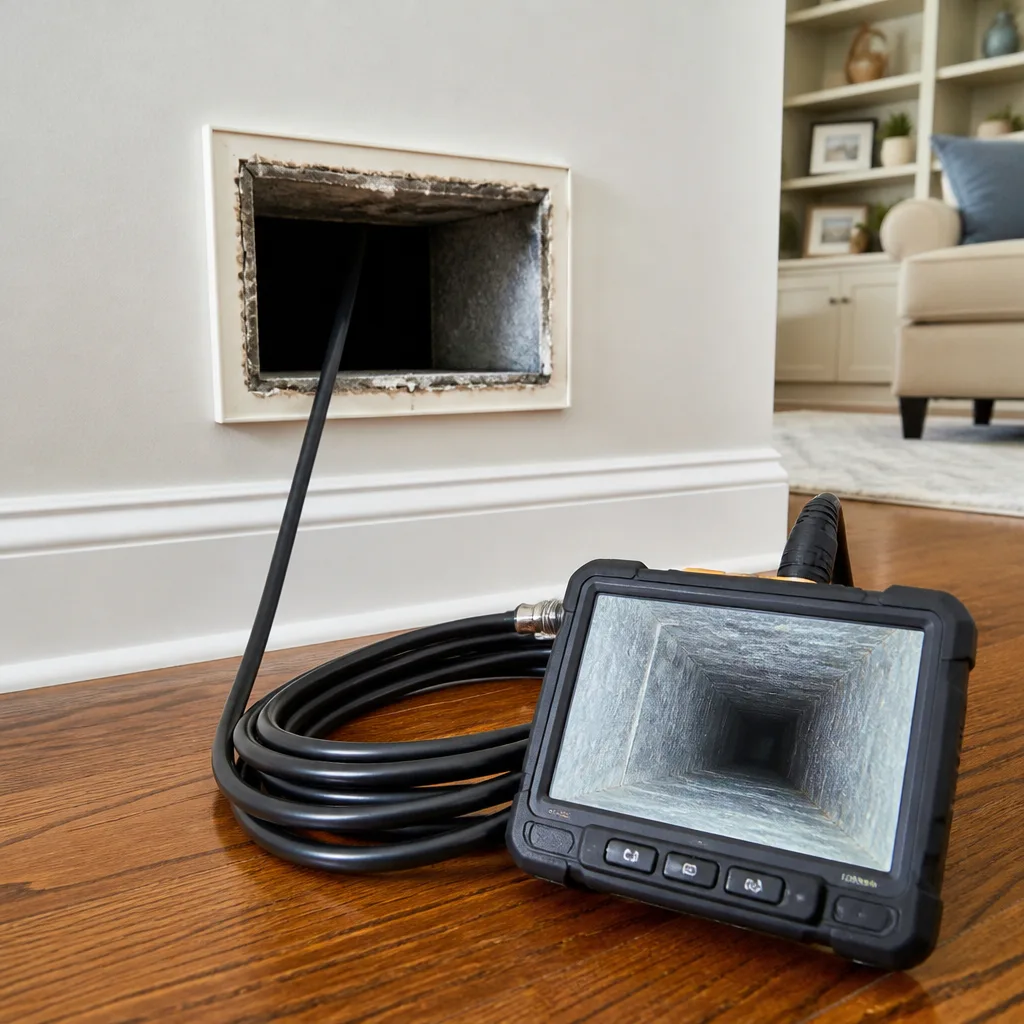 Camera inspection
 Sanitizing & deodorizing
Whole-system duct and dryer vent check with before-and-after photos - you see exactly what came out of your vents
That "$99 whole-house special" is a bait ad - the real number appears once they are in your hallway, or the "clean" is a shop-vac at the register. We photograph the inside of your ducts before and after instead.
Air Duct Cleaning Troubleshooting: Common Problems and How to Fix Them
Here’s a counterintuitive fact we deal with regularly in Jurupa Valley: most homeowners who call us saying their duct cleaning “didn’t work” actually got exactly what they paid for. The ducts were cleaned. The problem they wanted solved was never a duct problem in the first place. Musty air that lingers after a cleaning usually comes from a wet evaporator coil. Dust that returns in two weeks is usually attic air bypassing the filter. Uneven room temperatures usually mean leaking ducts, not dirty ones. This guide separates the problems duct cleaning actually solves from the ones it never will, so you can stop paying for the wrong fix.
Quick Answer
Most post-cleaning complaints happen because the wrong problem was treated. If your home is still dusty after a duct cleaning, the cause is usually filter bypass, return-side duct leakage, or attic air infiltration, not leftover dirt in the ducts. If you still have musty odors, the problem is almost always a wet coil or drain pan, which sits outside the duct system and requires HVAC service, not more duct cleaning.
Styles & brands we work with
- Whole-home duct cleaning
- Dryer vent cleaning
- Camera inspection
- Sanitizing & deodorizing
Table of Contents
- Why Is My House Still Dusty After Duct Cleaning?
- Musty Odors That Won’t Go Away: The Coil Problem
- Uneven Room Temperatures: Leaks, Dampers, and What Cleaning Can’t Fix
- How to Verify a Previous Cleaning Was Actually Done Properly
- The Homeowner’s Diagnostic Sequence: What to Check Before Calling Anyone
- Return-Side Leakage: The Hidden Dust Source Most Companies Miss
- Flex Duct Damage: What Sagging and Kinks Mean for Airflow
- Mold in Ducts vs. Mold Elsewhere: Knowing the Difference
Why Is My House Still Dusty After Duct Cleaning?
Dust returns after cleaning for one of three reasons, and only one of them lives inside your ducts. The first is filter bypass. If your filter doesn’t seal tightly in its slot, or if the filter frame itself has gaps, unfiltered air slips around the filter and carries dust straight into your supply ducts. A filter with the wrong MERV rating can also let fine particulate through. We see this constantly in Jurupa Valley homes built in the 1990s and 2000s, where filter slots were installed with quarter-inch gaps by default.
The second cause is return-side leakage. Your return ducts pull air from your living space back to the furnace. If those return ducts have loose joints, disconnected sections, or holes, they pull air from wherever they sit. If that’s a dusty attic, you’re vacuuming attic air into the house. No amount of duct cleaning fixes this because the dust source is outside the sealed system.
The third cause is attic air infiltration through light fixtures, ceiling penetrations, and unsealed chase ways. This has nothing to do with ducts at all. The dust is entering the living space directly from the attic, bypassing the HVAC system entirely.
How to Identify the Source
- Filter bypass: Check for dust streaks on the furnace cabinet around the filter slot. A clean outline of the filter against a dusty background means air is sneaking around it. Fix with a properly sized filter and some weatherstripping to close the gap.
- Return-side leakage: Look at the return duct runs in accessible attic sections. Disconnected joints, visible gaps at connections, or torn foil wrapping are signs. A smoke pencil or a piece of tissue held near joints can reveal air movement.
- Attic infiltration: If dust accumulates heavily on ceiling fans, high shelves, and upward-facing surfaces while floor dust stays moderate, you likely have attic air entering through ceiling penetrations. This needs sealing work, not duct work.
For a deeper look at what a proper cleaning does and doesn’t address, see how we approach air duct cleaning in Jurupa Valley. The important distinction is this: cleaning removes what’s inside the ducts. Sealing stops what’s outside from getting in. They’re different jobs, and they’re often confused.
Musty Odors That Won’t Go Away: The Coil Problem
Musty or damp-smelling air after a cleaning is the most common complaint we hear in Jurupa Valley during the summer months. The answer is usually not the ducts. It’s the evaporator coil and drain pan sitting directly above your furnace. When your air conditioner runs, the coil condenses moisture from the air. That moisture drips into the drain pan and drains away. If the drain line clogs, the pan overflows. If the coil gets dirty, the moisture holds onto the dirt and grows microbial material. The smell travels through your ducts every time the blower runs.
A duct cleaning cannot remove this odor because the coil and drain pan are not inside the ducts. They’re HVAC components. If a duct cleaning company tells you they can eliminate musty odors by cleaning ducts, they’re either unaware of this distinction or they’re setting you up to be disappointed.
What actually fixes a musty coil odor: cleaning the evaporator coil, replacing the drain pan if damaged, clearing the condensate drain line, and addressing the underlying humidity problem in the system. In Jurupa Valley’s hot, dry summers, coils run constantly and drain lines can clog with mineral buildup, which is a maintenance issue that has nothing to do with the ductwork itself.
If you’ve had a duct cleaning and the musty smell is still there, check whether the odor is strongest at the supply registers when the AC first kicks on. That’s coil odor traveling through the ducts. If it’s strongest in one room only, look for a wet spot, a roof leak, or a bathroom exhaust issue in that area.
Uneven Room Temperatures: Leaks, Dampers, and What Cleaning Can’t Fix
When one bedroom is hot and another is cold, homeowners often suspect blocked ducts. They schedule a cleaning and expect the temperature to balance out. It usually doesn’t, because the cause is rarely debris buildup. Debris that’s thick enough to meaningfully reduce airflow to a single room would have to be extreme, and you’d see other signs like reduced airflow at the register. The real causes of uneven room temperatures are duct leakage, improperly set dampers, insufficient return airflow, and poor duct design.
Duct leakage is the biggest culprit. In a typical Jurupa Valley home, 20 to 30 percent of the air moving through the ducts leaks out through joints, seams, and disconnected sections before it reaches the registers. That lost air goes into the attic or crawlspace. The rooms farthest from the furnace, often the master bedroom at the end of a long duct run, feel the loss first.
Dampers are another common cause. Most duct systems have manual dampers inside the supply ducts, usually accessible in the attic or at the furnace. If a previous owner or a contractor adjusted them seasonally and never set them back, some rooms will be starved of air. Adjusting dampers is a mechanical fix, not a cleaning fix.
Insufficient return airflow causes pressure imbalances that make far rooms feel stuffy. If a room has a supply register but no return, or if the return is undersized, that room will never feel comfortable no matter how clean the ducts are. Supply air has nowhere to go, so it doesn’t move well.
What to Check Before You Call Anyone
- Hold a tissue at the register in the hot room and in a comfortable room. Compare the airflow. A weak stream means the problem is airflow, not temperature.
- Check if the room has a return register. Rooms that are hot in summer and cold in winter often lack adequate return airflow.
- Look for accessible dampers in the attic. A damper handle that’s parallel to the duct means open. Perpendicular means closed. If one’s partially closed, that could be your answer.
- Feel the duct joints in accessible attic sections. Air leaking at a joint means the room at the end of that run is being robbed of air.
If the ducts are leaking, cleaning won’t help. Repair will. That’s exactly what we offer alongside cleaning. See our air duct repair services in Jurupa Valley for more on how we diagnose and seal duct leakage. The point is knowing which problem you have before choosing a service.
How to Verify a Previous Cleaning Was Actually Done Properly
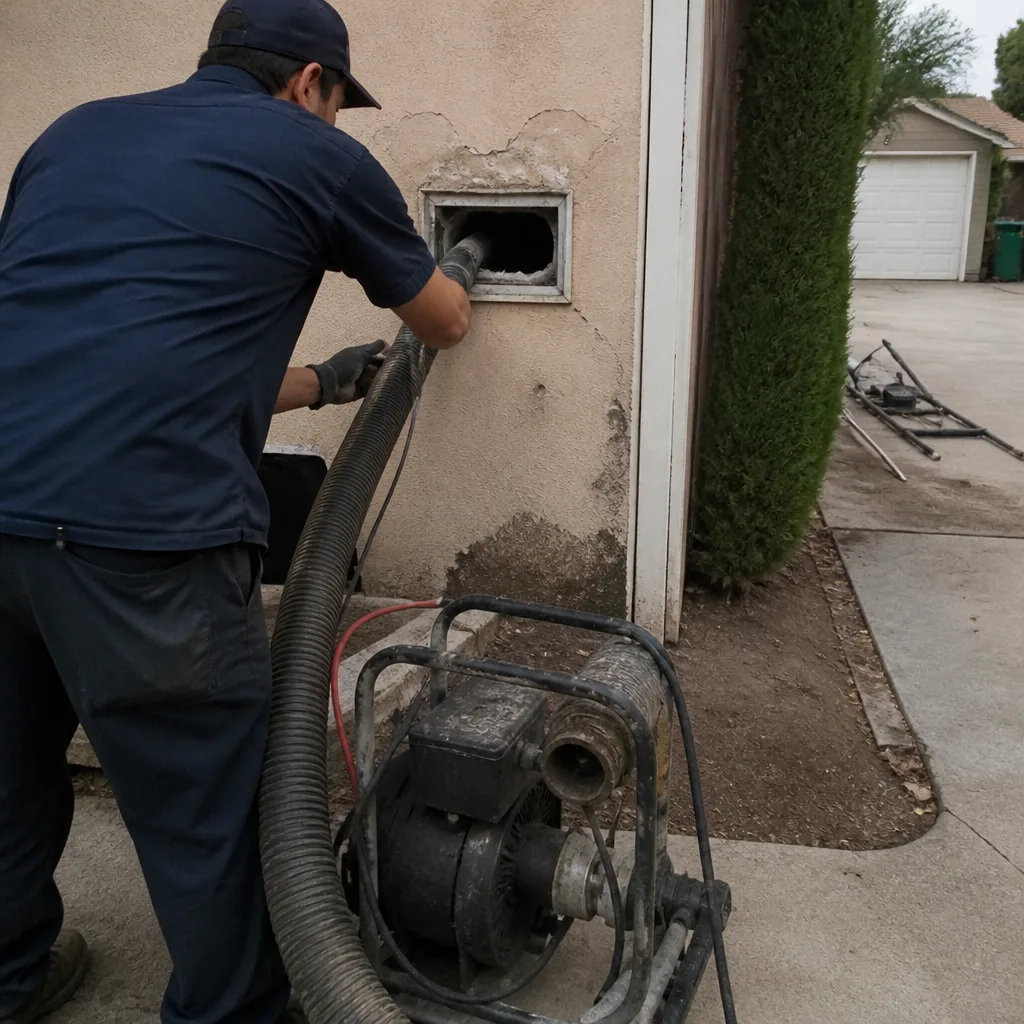
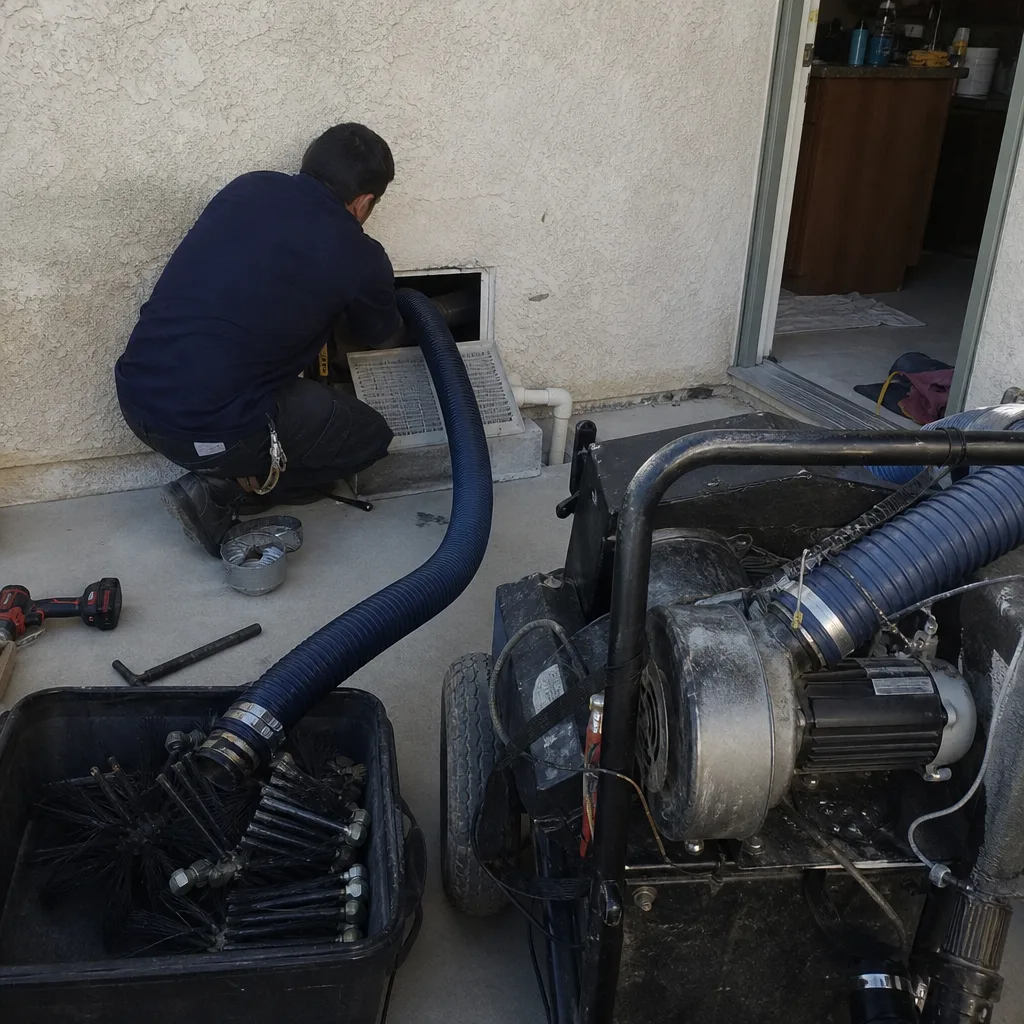
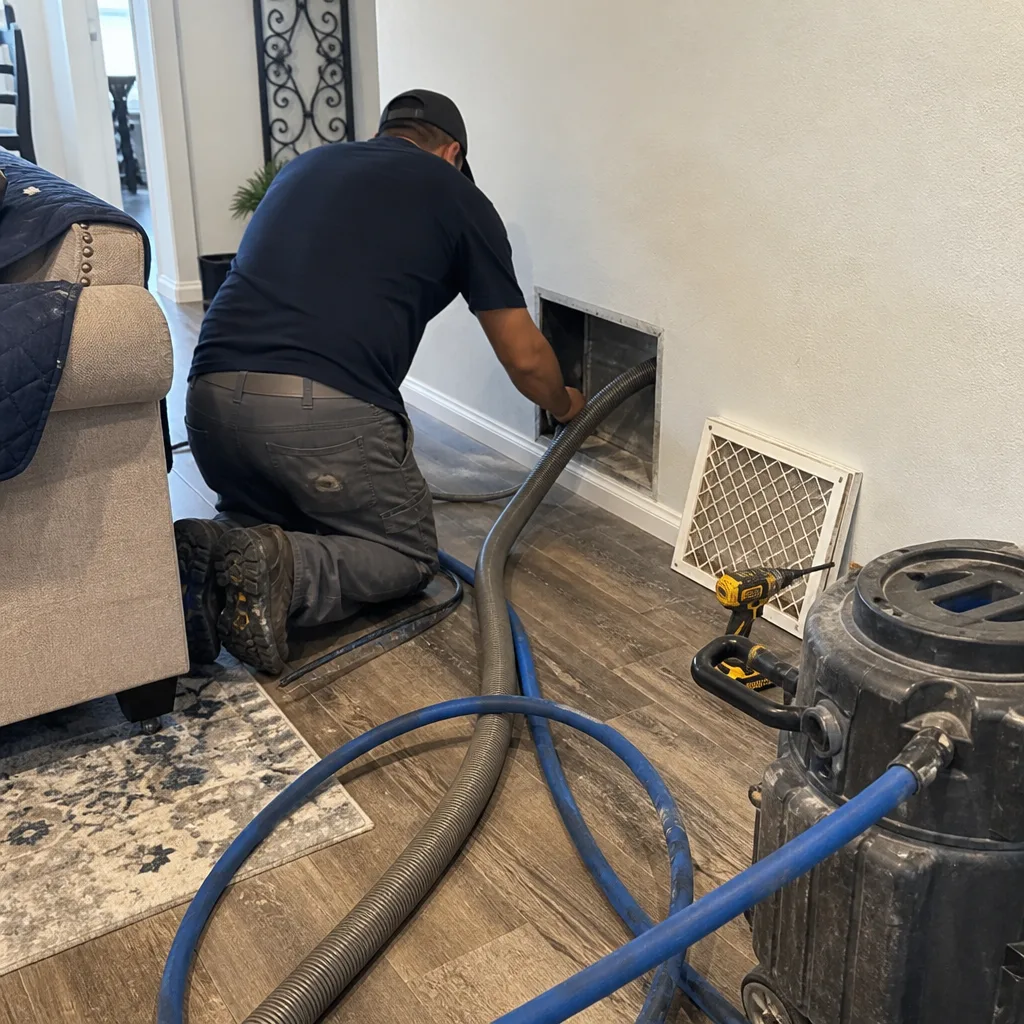
Not all duct cleanings are equal, and homeowners in Jurupa Valley who’ve been burned by a discount cleaning have every right to be skeptical. A proper cleaning uses contact agitation, which means a brush or other tool physically scrubs the interior surfaces of the ducts. The loosened debris is then removed under negative pressure using a HEPA-rated vacuum system. That’s the process we use with Rotobrush contact-cleaning technology paired with Nikro HEPA vacuum systems. The brush breaks debris free from the duct walls, and the negative pressure pulls it out of the house rather than redistributing it.
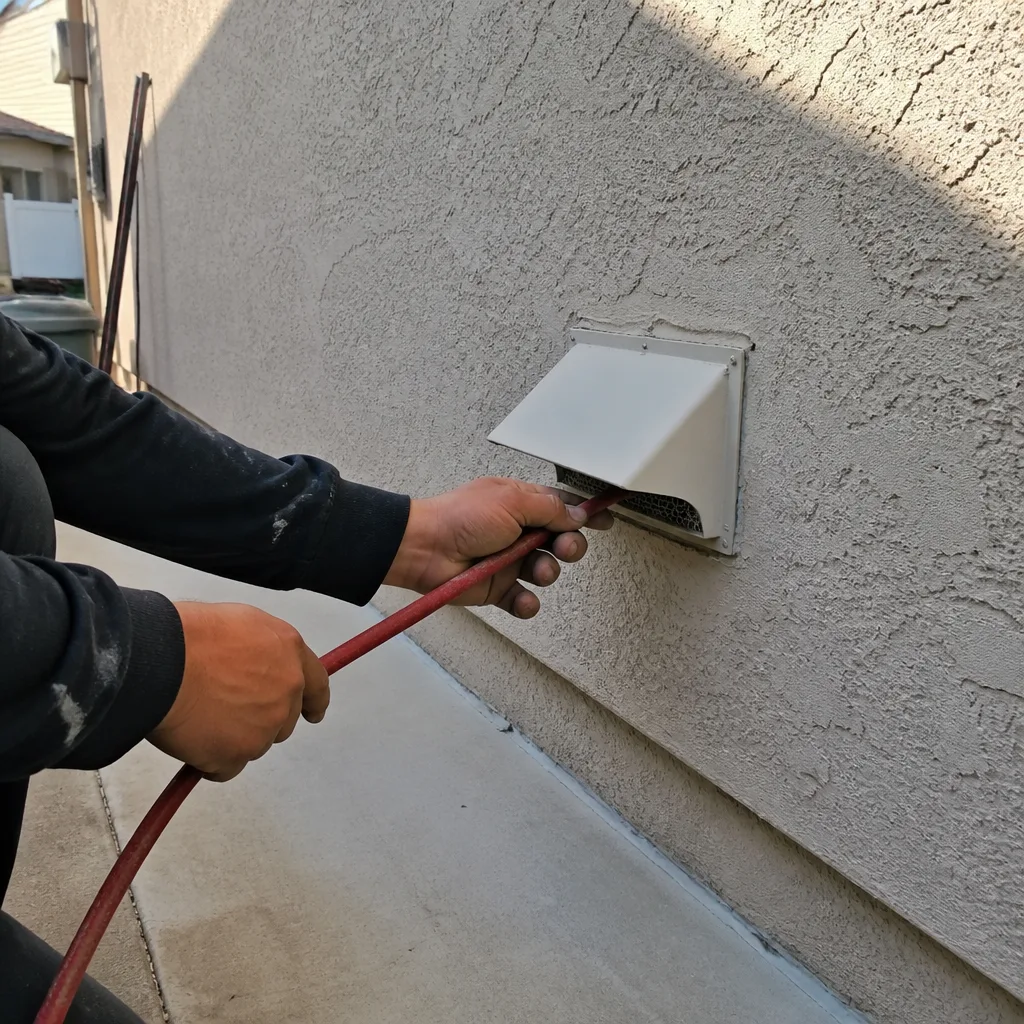
A blown-through cleaning, by contrast, uses compressed air to blast debris loose, sometimes with a vacuum at one end, sometimes not. The problem is that without contact agitation, a compressed air blowout only removes loose dust. Anything caked onto the duct walls stays. The homeowner is left with ducts that look superficially better at the registers but are still carrying years of buildup inside.
What to Look For After a Cleaning
- Register edges: Pull a few supply registers off. On a properly cleaned system, the visible interior of the register boot should be clean, not just the register face. A quick blowout often leaves a ring of dust right where the register sits.
- Inside the flex duct: Shine a flashlight down the flex duct from the register opening. If you can see visible dust coating the ridges or the inner liner, the duct was not contact-cleaned. Flex duct has spiral ribs that trap dust, and only physical agitation removes it.
- The trunk line: If you have an access panel to the trunk line, open it and look down its length. You should see clean metal, not a thick dust layer.
- Photos: Any company doing proper work should offer before and after photos of your actual ducts. If they didn’t show you what they removed, ask why. We show our clients what came out of their system because the visual proof matters more than any sales pitch.
A proper cleaning takes time. Two to five hours for an average home, depending on the system size and configuration. If a crew was in and out in forty-five minutes, you didn’t get a cleaning that reached the full system. The tools used matter too. A shop vac and a drill-powered brush won’t produce the same result as professional equipment like Rotobrush and Nikro systems, which are designed to agitate and capture debris at the same time. When we clean ducts in Jurupa Valley, we use Abatement Technologies air filtration equipment to maintain negative pressure throughout the process, which keeps loosened debris from drifting into your living space while we work.
The Homeowner’s Diagnostic Sequence: What to Check Before Calling Anyone
Before you spend money on any service, run through this sequence. It takes fifteen minutes and will tell you more than any phone consultation can. This is the exact process we walk Jurupa Valley homeowners through when they call us with a “still dusty” complaint.
Step 1: The Filter Check
Pull the filter and look at it. If it’s plugged with dust, that’s a maintenance issue, and the filter was doing its job, but it also means unfiltered air has been bypassing the filter if it’s been in place too long or is the wrong size. Check that the filter fits snugly in the slot with no visible gaps. Note the filter’s MERV rating. MERV 8 catches basic dust. MERV 11 catches finer particles. MERV 13 catches very fine particles but can restrict airflow if your system wasn’t designed for it. If you have a MERV 13 filter in a system designed for MERV 8, you could be reducing airflow and causing the system to work harder, which creates its own set of problems.
Step 2: The Register Airflow Test
Hold a tissue or a piece of receipt paper at each supply register with the fan running. Compare the deflection. Strong, consistent flutter means airflow is adequate. A limp or wildly fluctuating tissue means weak airflow, a blockage, or a leak upstream. Note which rooms feel weak. That tells you where to look for a problem.
Step 3: Visual Inspection at Accessible Duct Sections
If your attic or crawlspace is accessible, inspect what you can see. Look for disconnected joints, sagging flex duct, kinked sections, torn insulation, and visible gaps at connection points where the duct meets the register boot or the plenum. Use a flashlight. You’re looking for anything that would let air escape or let outside air in. If you find a disconnected joint, that’s your answer, and it’s a repair, not a cleaning.
Step 4: The Return Air Test
With the fan running, hold a tissue near a return grille. The tissue should be pulled toward the grille. If it’s barely pulled or not at all, the return is undersized or blocked. A weak return means the system is starved for air, which reduces supply airflow to every room and makes the system run inefficiently. Return blockage is often caused by furniture pressed against the return grille, or a filter in the return that’s never been changed.
If all four steps check out and the air is still dusty or smelly, the problem is likely upstream of the ducts, at the coil, or in the house itself. Then you know you need an HVAC technician or an air quality specialist, not a duct cleaner.
Return-Side Leakage: The Hidden Dust Source Most Companies Miss
Return-side leakage is the most underdiagnosed cause of persistent dust in Jurupa Valley homes. Here’s why: a supply leak pushes conditioned air out of the ducts into the attic. That wastes energy, but it doesn’t bring dust into your house. A return leak pulls air into the ducts, which then gets circulated through the house. If the return ducts run through a dirty attic, that leak is pulling attic air, insulation fibers, and fine dust into your living space continuously.
Return ducts are more prone to leakage than supply ducts because they operate under negative pressure. Every joint, seam, and connection is under suction, and over time, joints pull apart. Duct tape, the standard homeowner fix, degrades and fails within a few years. Mastic or foil-backed tape properly applied is the fix that lasts. More importantly, the return side of the system is often the most neglected part of any duct system. Cleaning companies focus on supply ducts because that’s where visible dust accumulates. Returns get less attention, and leaks in returns get no attention at all.
Symptoms of return-side leakage include: dust accumulating quickly on horizontal surfaces, especially after the system runs heavily; insulation fibers or attic dust appearing around return grilles; rooms that are stuffy or hard to cool because the system is pulling hot attic air instead of cool house air; and a smoke test showing air being sucked into duct joints that should be sealed. If you suspect return leaks, the fix is sealing the return duct runs, a repair service, not a cleaning. We address this regularly as part of our air duct repair work in Jurupa Valley because sealing is the only real solution when the ducts themselves are the leak source.
Flex Duct Damage: What Sagging and Kinks Mean for Airflow
Most homes in Jurupa Valley built since the 1980s use flex duct for branch runs, and flex duct is both wonderful and terrible depending on how it was installed. Installed correctly, with proper support every four feet and no sharp bends, flex duct moves air efficiently and quietly. Installed poorly, with sagging spans, kinked bends, and tight turns, flex duct resists airflow dramatically. In fact, a single 90-degree flex duct bend without a metal elbow can reduce airflow by up to 30 percent compared to a straight run.
Sagging flex duct is common in Jurupa Valley attics, where summer heat softens the plastic inner liner and the duct settles between support points. The sag creates a low spot where dust and moisture can collect. Over years, that accumulated material can become caked onto the inner liner, further restricting airflow. Cleaning can remove the debris, but if the sag is severe enough, replacement or re-supporting is the correct fix.
Kinked flex duct is easier to spot. A kink is a sharp fold that partially or fully collapses the duct. It can happen when ducts are bent too tightly around roof trusses or pulled too short between connection points. A kinked duct can’t be cleaned into functioning. It needs to be replaced or reinstalled with proper bends. If you’re seeing weak airflow at a register and the flex duct feeding it has a visible kink, you’ve found your problem, and it’s a repair, not a cleaning.
Flex duct also has a lifespan. In a hot attic, the plastic inner liner becomes brittle over 15 to 25 years. Eventually, it tears. A torn flex duct leaks air into the attic, creating the same symptoms as any other duct leak: weak airflow, uneven temperatures, and high utility bills. When we inspect a duct system in Jurupa Valley, we always check flex duct condition because a cleaning won’t fix a duct that’s physically damaged. If the duct is beyond repair, replacement may be needed, which is part of the repair services we provide. Get the full picture from our air duct repair overview.
Mold in Ducts vs. Mold Elsewhere: Knowing the Difference
Mold is the word that sends homeowners into a panic, and it’s often misdiagnosed. Here’s what we tell our Jurupa Valley clients: mold in ducts is rare. Mold elsewhere in the house is common. The difference matters because the fixes are entirely different, and the duct cleaning industry has a history of using the word mold to upsell frightened homeowners.
Mold requires sustained moisture and an organic food source. The inside of a clean, dry duct provides neither. Dust itself isn’t food for mold unless it contains organic material, and even then, the duct needs moisture. The ducts that run through a typical Jurupa Valley attic are dry and hot most of the year. Mold doesn’t thrive there. What you’re more likely seeing when you look into a register is dust that’s darkened, sometimes stuck to the register boot with condensation. That’s not mold. It’s dirty, and it can be cleaned.
Real mold problems usually live in the coil and drain pan area, where moisture is present whenever the AC runs. The coil is upstream of the supply ducts, which is why mold smell moves through the house when the fan runs. Mold also grows on walls and ceilings where roof leaks or plumbing leaks have caused wet drywall. Both of those problems require mold remediation specialists or HVAC coil cleaning, not duct cleaning.
If you suspect mold in your ducts, the right move is testing before cleaning. A professional mold test can tell you whether what you’re seeing is biological growth or just accumulated dust. If testing confirms mold in the ducts, professional cleaning with proper containment and HEPA filtration is appropriate. But jumping straight to cleaning without testing is how homeowners end up paying for a mold service they didn’t need. Our approach is to inspect and advise honestly. If the problem is mold on the coil, we’ll tell you to call an HVAC technician. If the problem is dust, we’ll clean it and show you what we removed.
Common Mistakes to Avoid
- Treating every air quality problem as a duct problem. Persistent dust, musty odors, and uneven temperatures have different causes. Cleaning the ducts only addresses one of them. Diagnose before you spend.
- Using the wrong filter or installing it loosely. A filter that doesn’t seal lets unfiltered air bypass it entirely. Match the filter to the slot dimensions and the system’s airflow capacity.
- Skipping return-side inspection. Most dust problems originate on the return side of the system, where leaks pull attic air into the ducts. If you only inspect supply ducts, you’ll miss the source.
- Believing a cleaning will fix leaking ducts. Leaking ducts lose air to the attic. Cleaning the inside of a leaking duct just means the clean air leaks out too. Sealing comes first.
- Buying the cheapest cleaning and expecting full results. A blown-through cleaning with no contact agitation leaves caked debris behind. In Jurupa Valley, where summer attics bake ducts constantly, that debris bakes on. You need contact agitation to remove it.
- Ignoring the coil and drain pan. If your air smells musty and the ducts have already been cleaned, the answer is the coil and drain pan. Schedule HVAC service, not another cleaning.
- Panicking at the word mold before verifying. Dark dust in the register boot isn’t mold. Test before you treat, and don’t pay for mold remediation you don’t need because someone scared you with a register photo.
See the difference
 Before
 After
 Before
 After
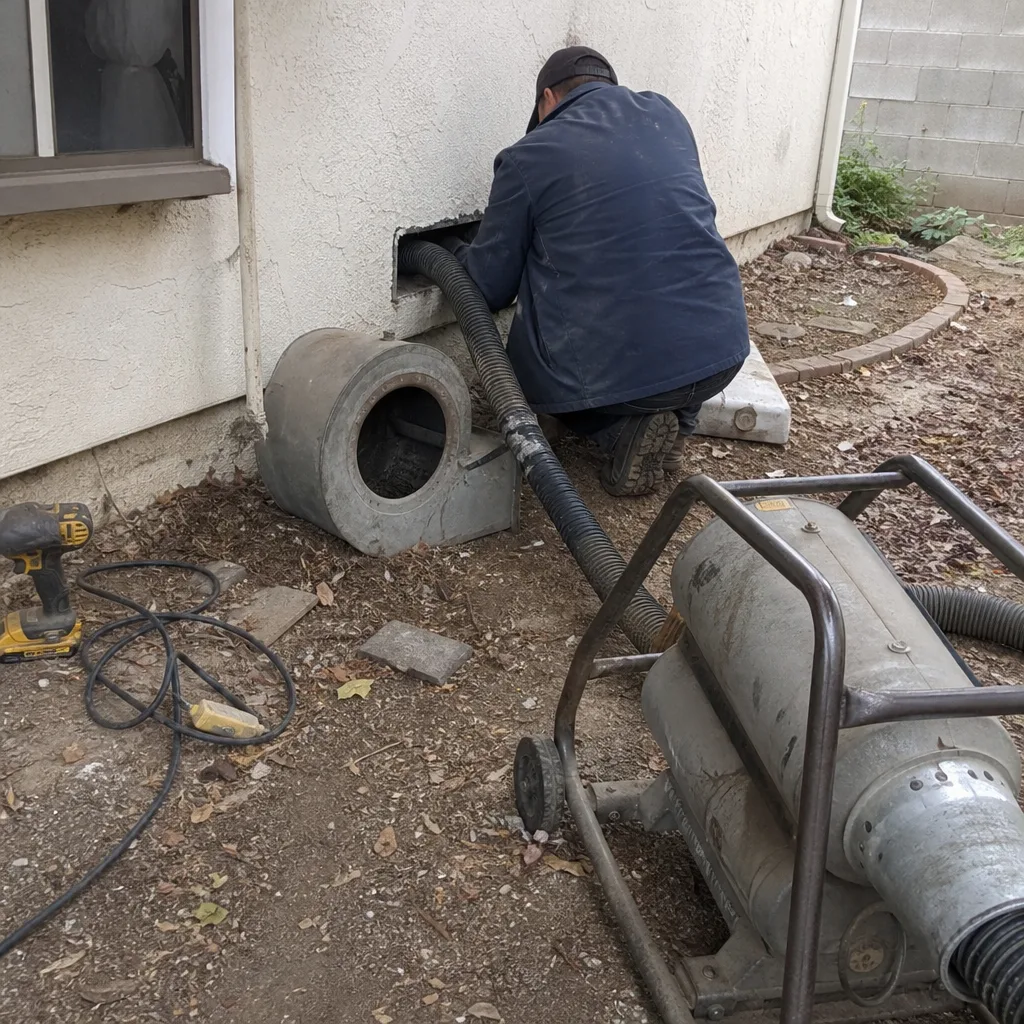 Before
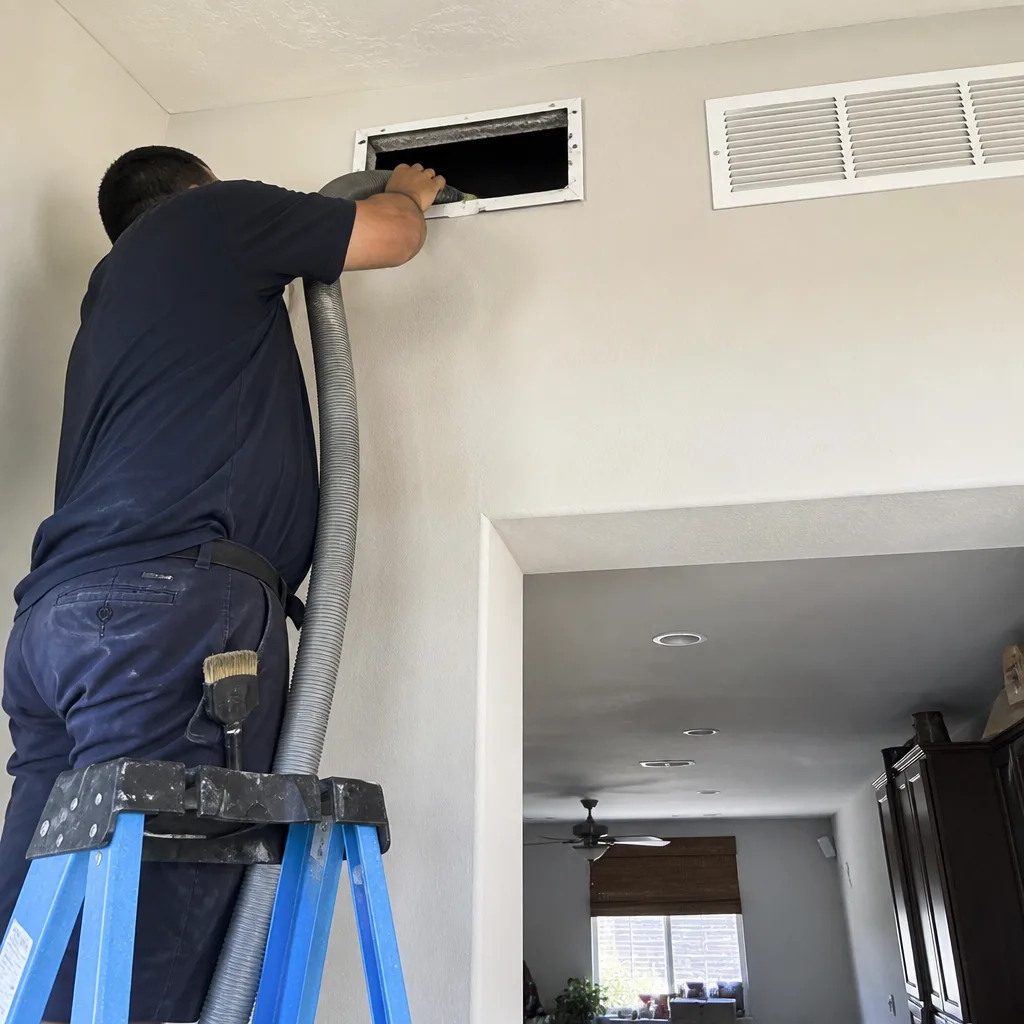 After
When to Call a Professional
Some problems you can diagnose yourself with a flashlight and a tissue. Some you can’t. Call a professional when the diagnostic sequence points to something inside the ducts you can’t see, when you find disconnected or torn duct sections that need repair, when a musty odor persists after cleaning and points to the coil, or when you’ve had a cleaning done and simply don’t trust that it was thorough. A proper company will inspect before they quote, show you what they removed, and tell you honestly if the problem isn’t in the ducts at all. Mainstreet Air Duct Cleaning offers free estimates in Jurupa Valley. Call (877) 358-3053 and we’ll tell you what’s actually going on, whether that means a cleaning, a repair, or a referral to the right specialist.
Frequently Asked Questions
Air duct cleaning in Jurupa Valley typically costs between $350 and $800 for a full system cleaning, depending on the size of the home, the number of registers, the duct configuration, and whether the system has been cleaned before. Homes with accessible attics and straightforward layouts cost on the lower end. Homes with difficult access, heavy buildup, or additional services like dryer vent cleaning cost more. Be wary of advertised prices below $100, which usually mean a superficial blowout, not a contact cleaning. Call (877) 358-3053 for an exact quote. Estimates are free.
Cheap quotes usually mean a crew uses compressed air only, no contact agitation, and a light vacuum, and they’re done in under an hour. A proper cleaning that uses contact brushes and HEPA negative pressure takes two to five hours. The labor, equipment, and time difference is what you’re paying for. Jurupa Valley’s market includes a range of operators, from discount blowouts to professional contact cleaning. The price reflects the method.
Ask for before and after photos of your actual ducts. Pull a few registers and look at the register boots with a flashlight. Check inside the flex ducts for visible dust on the ribbed liner. A proper cleaning leaves the interior visibly cleaner. If the company won’t show you photos or you can see dust still caked inside, the work wasn’t done thoroughly. We always show our Jurupa Valley clients what was removed.
Every five to seven years for most homes, more often if you have pets that shed heavily, recent construction, or a smoker in the home. Jurupa Valley’s dry summers mean more dust in the air, which means dustier ducts. But if your system was properly cleaned and your filters are changed regularly, you shouldn’t need cleaning more than twice a decade. Call (877) 358-3053 for an honest recommendation based on your home’s condition.
No. Musty AC smells come from the evaporator coil and drain pan, which sit outside the ducts. Cleaning the ducts won’t remove the smell because it’s being generated upstream. You need the coil cleaned, the drain pan inspected, and the condensate line cleared. If you call a duct cleaning company and they promise to eliminate the smell by cleaning ducts, get a second opinion.
Duct cleaning removes debris from inside the ducts. Duct repair fixes the structure: sealing leaks, reconnecting disconnected sections, replacing damaged flex duct, and adjusting dampers. Many homes in Jurupa Valley need both. That’s why we offer air duct repair alongside cleaning. If your ducts are leaking, cleaning them first just means the clean air leaks out. Sealing first, then cleaning, in that order.
Yes, and we recommend it. The dryer vent is a separate system from your HVAC ducts, but it’s the most common household fire risk that most duct cleaning companies don’t address. A clogged dryer vent restricts airflow, makes the dryer run longer, and creates lint buildup that can ignite. Cleaning it alongside your ducts means one visit, one crew, both systems handled. See our dryer vent cleaning service in Jurupa Valley for details.
The Bottom Line
Most duct cleaning complaints trace back to a misdiagnosis. The ducts were never the problem, or they weren’t the only problem. Persistently dusty air means filter bypass, return leakage, or attic infiltration. Musty air means a coil or drain pan issue. Uneven temperatures mean duct leakage or damper settings. A proper cleaning with contact agitation and HEPA negative pressure removes what’s in the ducts. Everything else needs something different: sealing, coil cleaning, or house sealing. The right move is diagnosis before treatment. If you’re in Jurupa Valley and you’re not sure what’s going on with your air, call us at (877) 358-3053. We’ll inspect honestly, tell you what’s actually wrong, and only recommend what you actually need. Whether that’s a cleaning, a repair, or a dryer vent service, the point is getting it right the first time.
See our Mainstreet Air Duct Cleaning home page for a full overview of what we do and how we do it.
Written by the team at Mainstreet Air Duct Cleaning, serving Jurupa Valley since 2011.